A leaking shower is not only annoying and water-wasting, but it can totally ruin your shower experience too! While we always recommend seeking the help of a professional plumber to deal with any type of plumbing problem, including Saniflo plumbing, it’s good to understand what is involved in fixing a dripping or leaking shower. You will feel more confident and prepared if the scenario arises. With that in mind, we have put together this step-by-step guide on how to fix a leaking shower.
The key steps to fixing a
leaking shower are:
- Identify the source of the drip.
- Isolate the shower’s water supply locally or turn off at the main stop cock of the property.
- If the showerhead is dripping when the shower is in use, clean the shower head, inspect the connection and replace worn washers.
- If the shower head drips even when not in use, you will likely need to replace the flow control valve.
- If the shower valve is leaking, take the valve apart and either service or replace the internal components.
- Test for leaks.
- Prevent future leaks.
Let’s look at each of these steps in detail:
Isolate the water supply
Changes in environmental regulations and government policies may impact the type of heating systems that can be installed or maintained.
Identify the source of the drip
Fixing a dripping shower involves identifying and addressing the underlying issue causing the leak. A shower can drip from various places. By observing where the water is coming from, it will be easier to determine the likely source/cause.
In most cases, the leak will be coming from either:
- The showerhead
- The valve

How to fix a dripping showerhead
If the showerhead or hose is leaking when the shower is in use, a plumber would typically try the following steps:
-
Unscrew and remove the showerhead
If your shower is quite old, you may need to use an adjustable spanner or pliers to loosen and remove the showerhead from the shower arm or hose. This can be due to built-up rust or calcium.
-
Inspect the connection
Check the connection between the showerhead and the arm for damage or rust. Clear/clean as required.
-
Replace/secure the washer
Take a look at the washer or O-ring as this is the rubber ring that sits at the join between the hose and the showerhead to prevent any water from leaking out. If it looks worn or damaged, then it will need replacing. If the washer looks OK, then it is worth wrapping some plumber's tape (Teflon tape) around the connection of the shower arm to help form a watertight seal.
-
Clean the showerhead
Dirt particles and limescale can build up over time, leading to poor flow, blockages, and potential leaks. When the showerhead has been removed, we recommend placing the showerhead in a bowl with some kettle descaler granules and warm water. If it is a fixed showerhead then this would require disconnecting from the arm beforehand or a spray type limescale remover would be required to clean it in position. It is very important not to use boiling water when cleaning as this will damage the rubber seals inside the showerhead, and to always rinse any chemicals off thoroughly afterwards.
-
Reattach the showerhead
Screw the showerhead back onto the shower arm tightly but be careful not to overtighten, as this can damage the threads.
If the showerhead is dripping even when the shower isn’t in use, this could be due to a problem with the flow control valve on the shower control itself. In which case, it would be a case of identifying the part. If you know who the manufacturer is, look up the part information on their website or if you don’t know who the manufacturer is, then you’ve got to physically dismantle the shower and take the part out to try and then identify it yourself – you might want to do this through an online supplier or through a local merchant. Unfortunately, some of the lesser quality products available on the UK market are imported and rebranded meaning there are lots of taps and showers nowadays which suppliers are unable to provide spare parts for after they have sold the products.
How to fix a leaking shower valve
The shower valve plays a key role when it comes to your shower. The showerhead may be where water flows from, but the shower valve controls the flow of the water and temperature for the enjoyable shower experience we all look forward to in the mornings. The shower valve is what makes the difference between a shower that turns boiling hot after someone’s flushed the loo and one that maintains its temperature when another water fixture in the home is in use!
There are several types of shower valves to choose from depending on your shower type. For example, if you have dual shower handle you will likely have a Thermostatic Valve (to adjusts water temperature and water flow separately). If you have a shower and bath combination, you will likely have a Diverter Valve (to divert water from showerhead to bath spout) etc.
If the leak is coming from the shower valve, it may require more extensive repairs, particularly if the valve is concealed (behind the tiles). You may need to replace a valve cartridge, seals, or gaskets. The specific steps will depend on the type and brand of the shower valve, so enlisting the help of the plumber in this instance is highly recommended. As an overview, a plumber would typically try the following steps:
-
Take the valve apart
Once your water is turned off, cut the silicone seal from around the cover plate or trim (if there is one) and remove the cover plates/trim (shower taps and their accompanying controls are sometimes called shower trim). Then remove the handles from the controls. This will allow access to the valve itself. This should also reveal the gasket (usually a rubber ring).
-
Replace the washers
If the shower valve is an older design, check to see whether any of the washers have worn and need replacing.
-
Remove the flow control cartridge to clean and service
Replace the washer (if it has one) or install a replacement cartridge if it is beyond repair.
-
Clean the internal components of the valve
In hard water areas limescale build up can be the underlying cause of problems relating to the shower control. Clean the filters and remove and descale the cartridges with some descaler granules and warm water. Do not use boiling water when cleaning as it will damage rubber seals inside the valve and ensure you rinse any chemicals off thoroughly afterwards.
-
Reassemble the valve
Working in reverse order, begin to replace each aspect of the valve until it is completely reassembled. Then reassemble the shower in the reverse order – fit the shower handles, cover plate and the trim. Reapply the silicone seal around the cover plate/trim if it was cut.
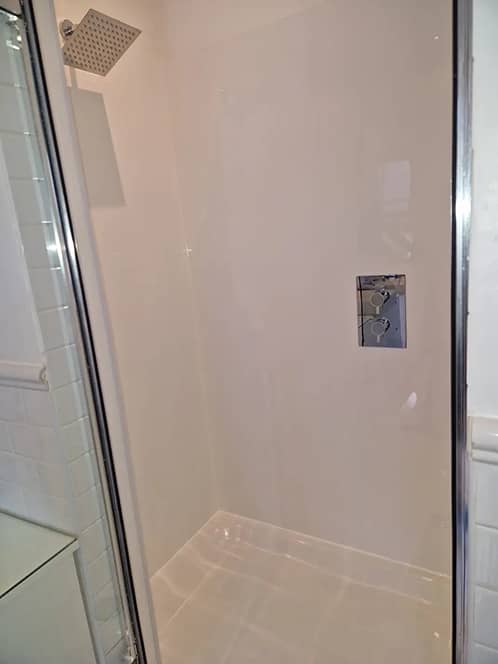
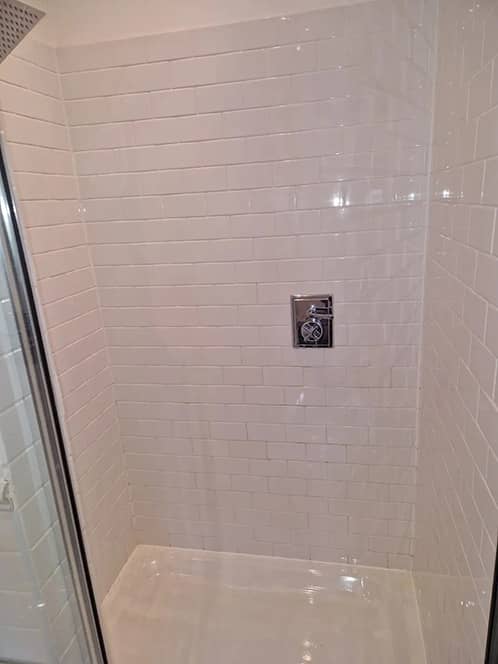
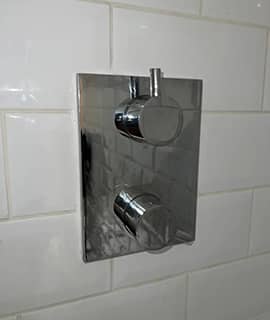
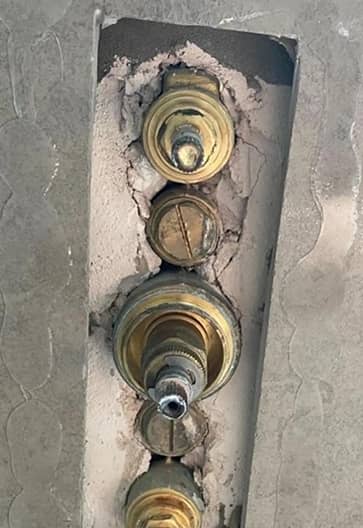
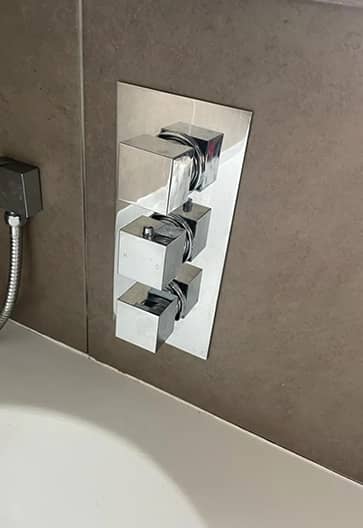
This customer’s tile grout cracked and caused a leak. The shower valve was also leaking and would not reach optimal temperature. We supplied and fitted a new shower valve and new shower panels with new silicone seals:
Before
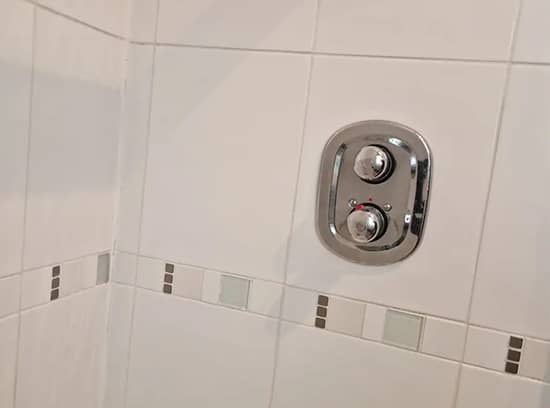
After
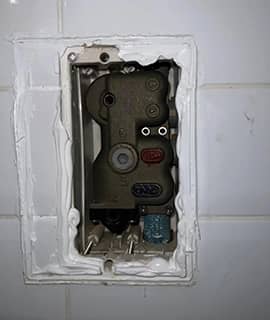
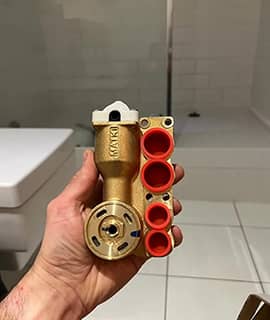
In this example, we removed and replaced an old faulty Matki shower valve and the shower plate was resealed:

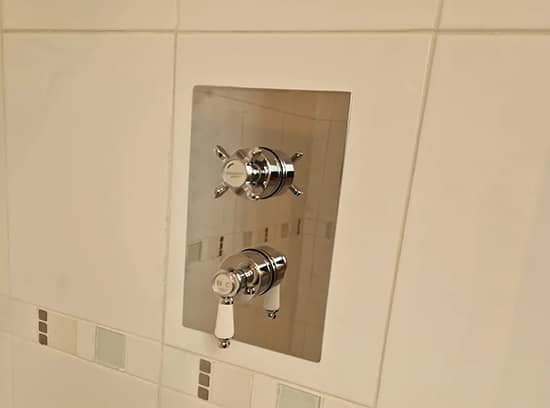
Brand new Bristan shower valve installed to replace the previous one which was not holding the temperature:
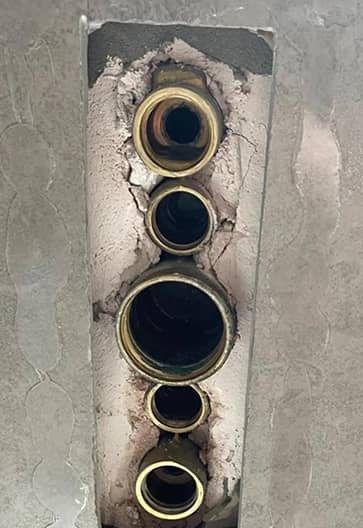
A completely refurbished concealed shower valve, new parts fitted and left in full working order:
Test for leaks
After making the necessary repairs, turn the water supply back on and test the shower to ensure there are no more leaks. If you find any additional leaks, recheck your work and make any needed adjustments.
Prevent future leaks
To prevent future leaks, consider regular maintenance and inspections of your shower components. Fixing minor issues early can prevent larger problems later on.
If you are uncomfortable or unsure about how to proceed, it's always a good idea to consult a professional plumber to diagnose and fix the issue correctly. They have the experience and tools to handle more complex repairs and can ensure that your shower is leak-free. At Maintracts, our team has extensive hands-on experience, allowing them to quickly diagnose your shower problems and provide an honest, reliable shower repair solution. Just call 020 8131 6267.